AWS-hosted NGINX Web Server
Overview: An NGINX web server that hosts the very website you are looking at and runs on an Amazon EC2 instance.
Tools Used
- Amazon Web Services / EC2 Cloud Computing
- NGINX / Web server
- OpenSSH / Remote admin tasks
- Let's Encrypt / TLS Certificate Authority & HTTPS
Creating the EC2 Instance
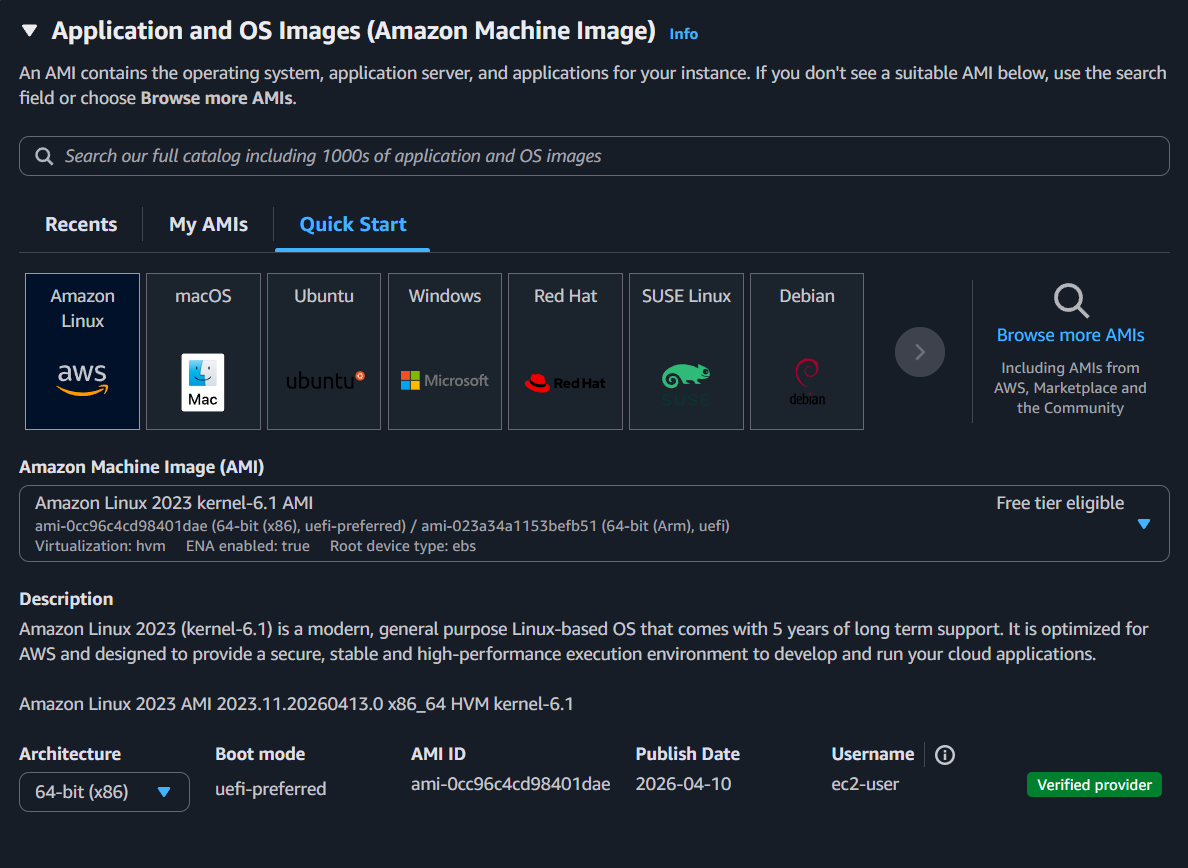
The first step was creating the EC2 instance in which we'll host the web server. I decided to use Amazon Linux 2023 for the OS.
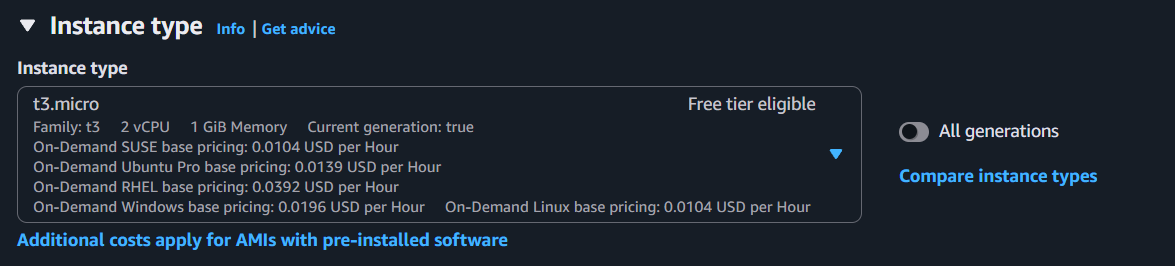
I chose to use a t3.micro instance type. This instance type only gives us two vCPUs and 1 GiB of memory to work with, but should be more than enough since Amazon Linux 2023 and NGINX are both very lightweight.
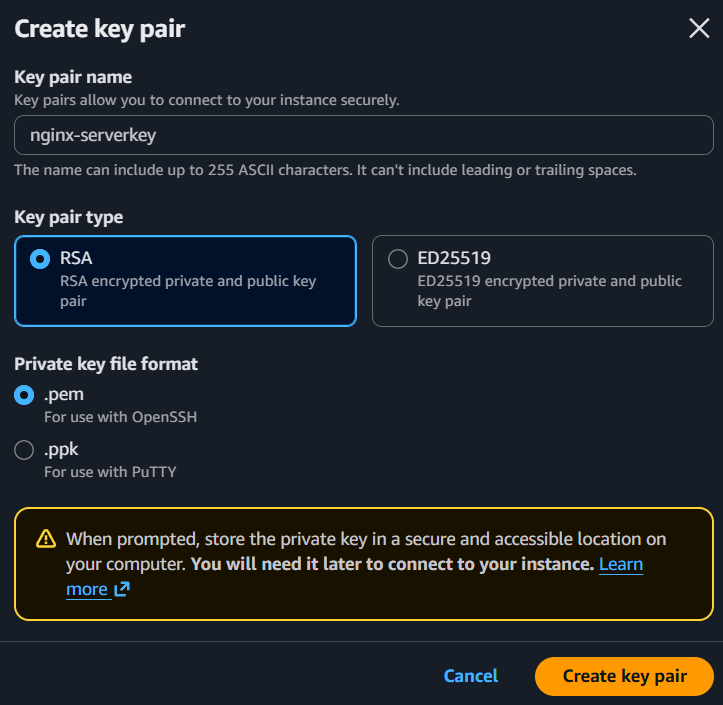
A new key pair (.pem) was generated for secure remote access to the instance. I saved this in a safe location on my local machine to use in my automated website deployment pipeline project.
Network Configuration
For the network settings I created a new security group that only allows SSH traffic from my ip address and set the instance to allow HTTP/HTTPS traffic from the internet. I used the default VPC and subnet settings, as I have other projects that will reside in the same VPC and will be utilized by this EC2 instance.

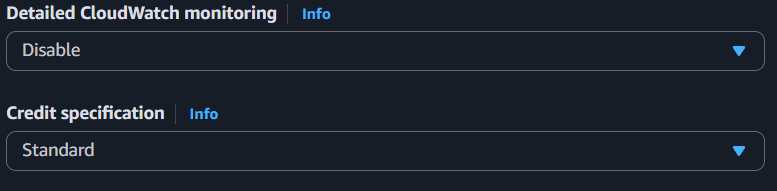
Under the "Advanced Details" section: we'll disable "Detailed CloudWatch Monitoring" and set "Credit Specification" to the "Standard" option to avoid some sneaky additional charges from AWS. We'll leave the rest of the settings on their default options.
Configuring the EC2 Instance
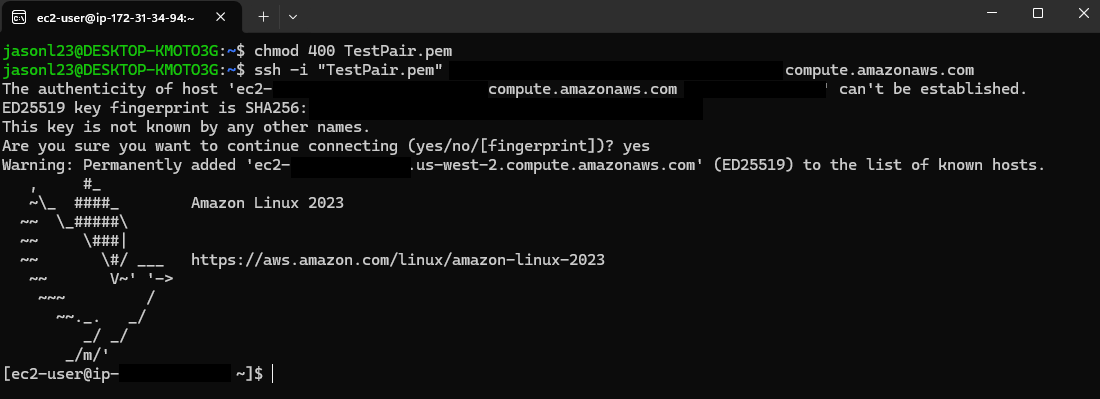
Now we can launch our new EC2 instance and configure it remotely through SSH. Before initiating the SSH authentication process, I changed the permissions for the .pem file with chmod to prevent it from being publicly viewable. Then I start the SSH handshake and provide the .pem file to complete the authentication process.
Next we'll make sure all packages are up to date in Linux and install NGINX Open Source. Amazon Linux 2023 uses the yum package manager, so to update all of our packages we run "sudo yum update -y".

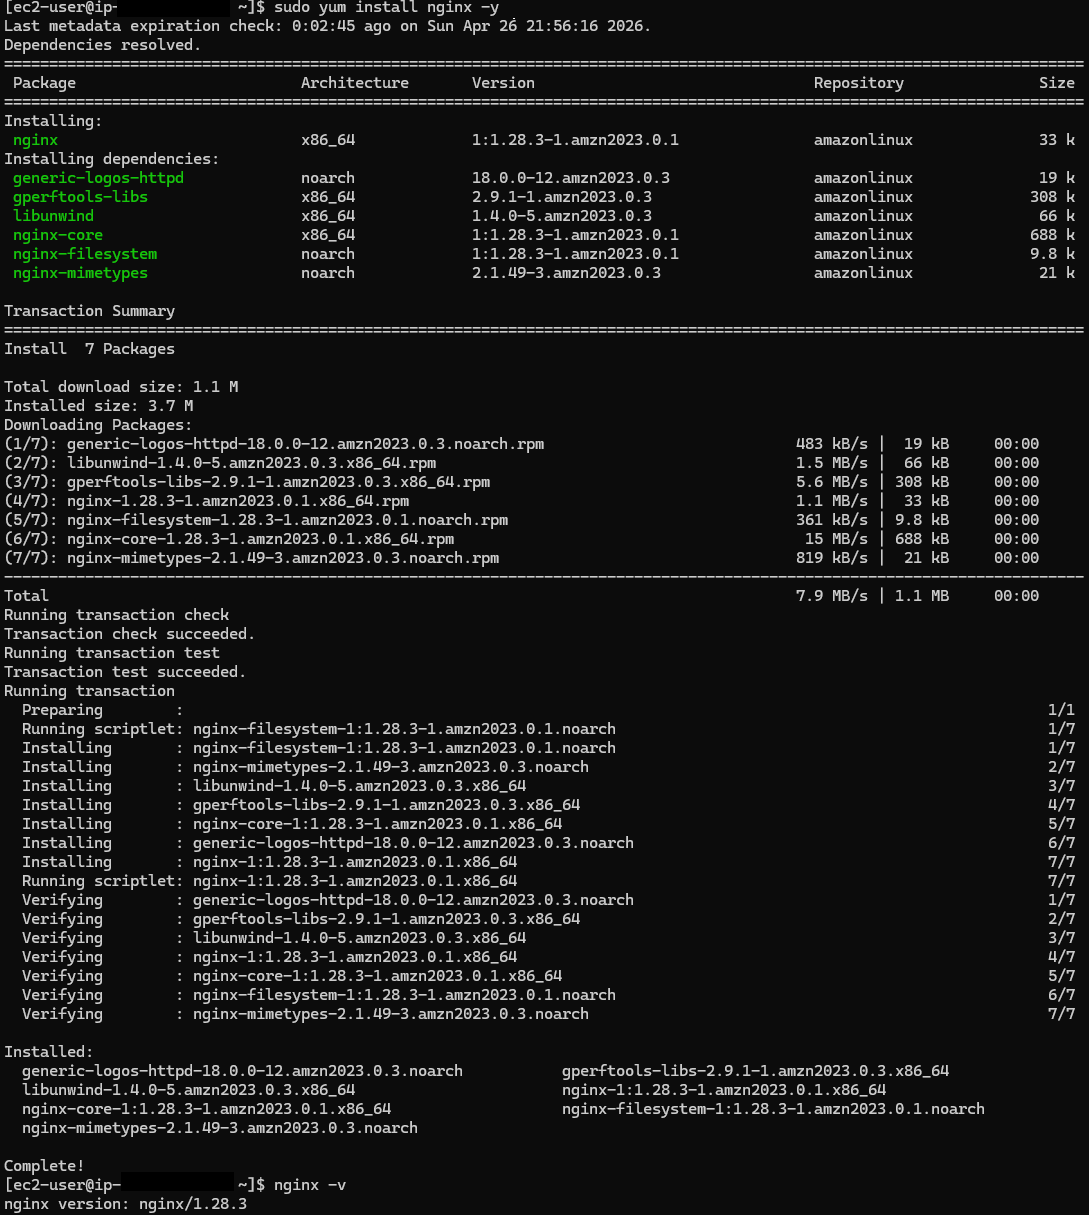
Once that was done I installed NGINX with "sudo yum install nginx -y" and verified the successful completion of the installation with "nginx -v".
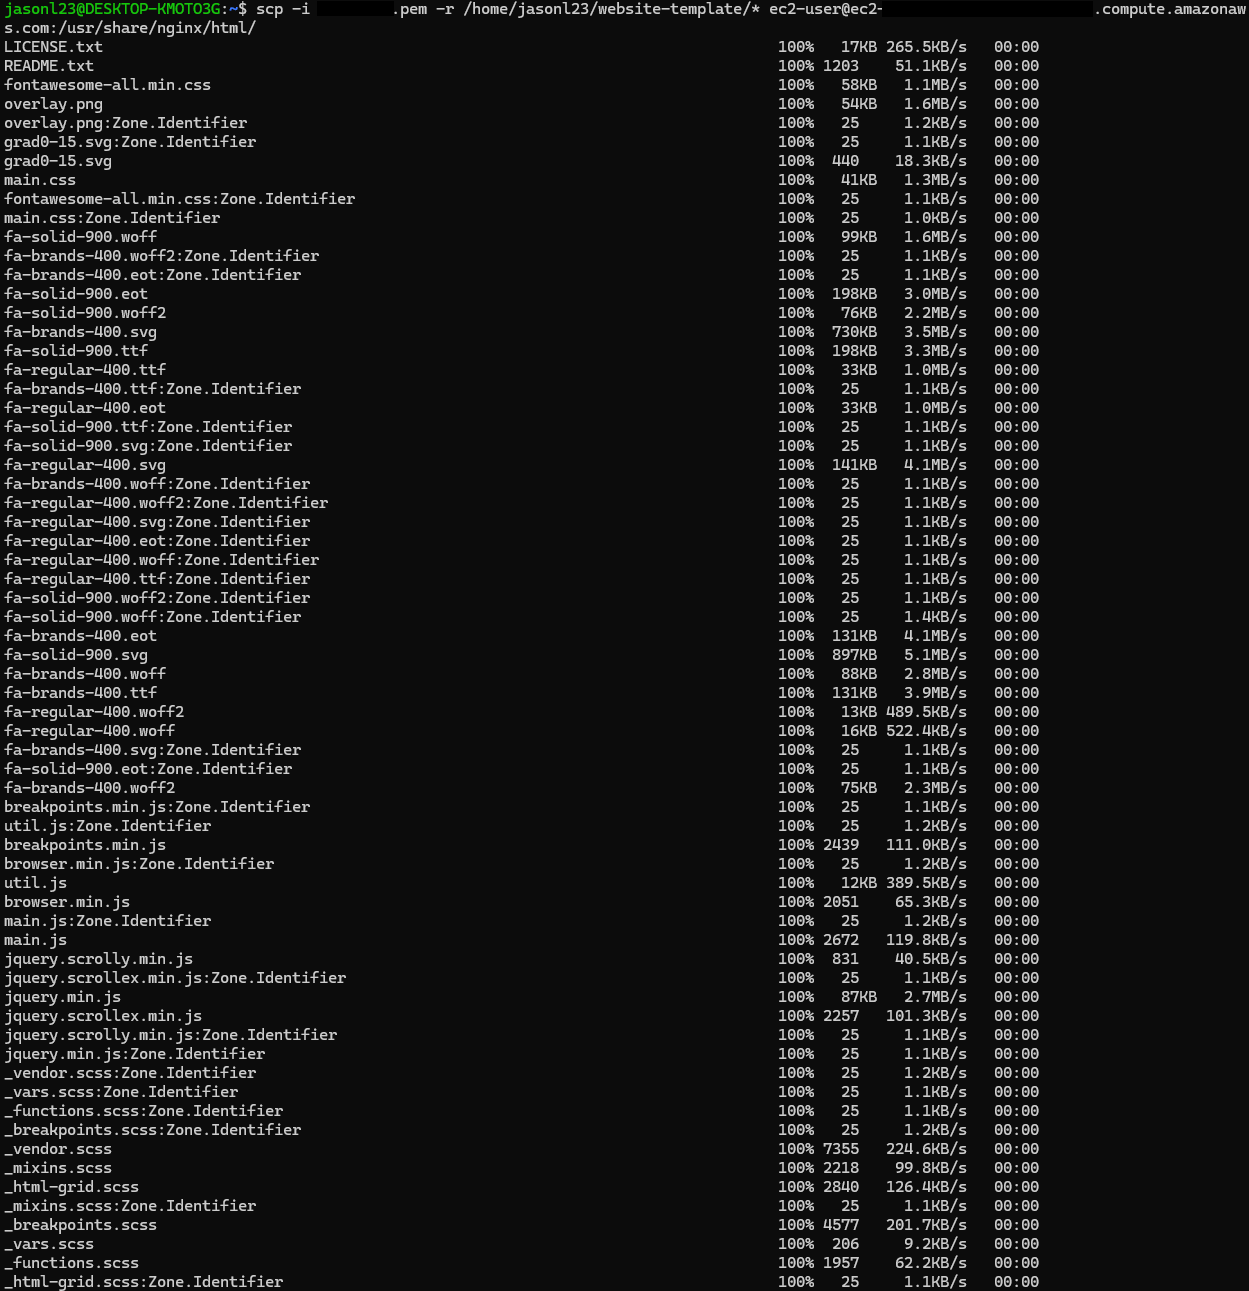
Now we can move our website files over to the EC2 instance! I used scp (secure copy) to securely move the files from my local machine to the NGINX web root folder on the EC2 instance. This command is performed on my local machine's terminal.
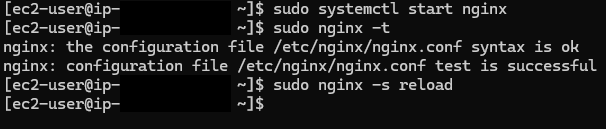
After the files have been moved I can start the NGINX service ("sudo systemctl start nginx"). I used NGINX's built-in functionality to test it's configuration files ("sudo nginx -t") and reload the service ("sudo nginx -s reload") to load the new configuration.
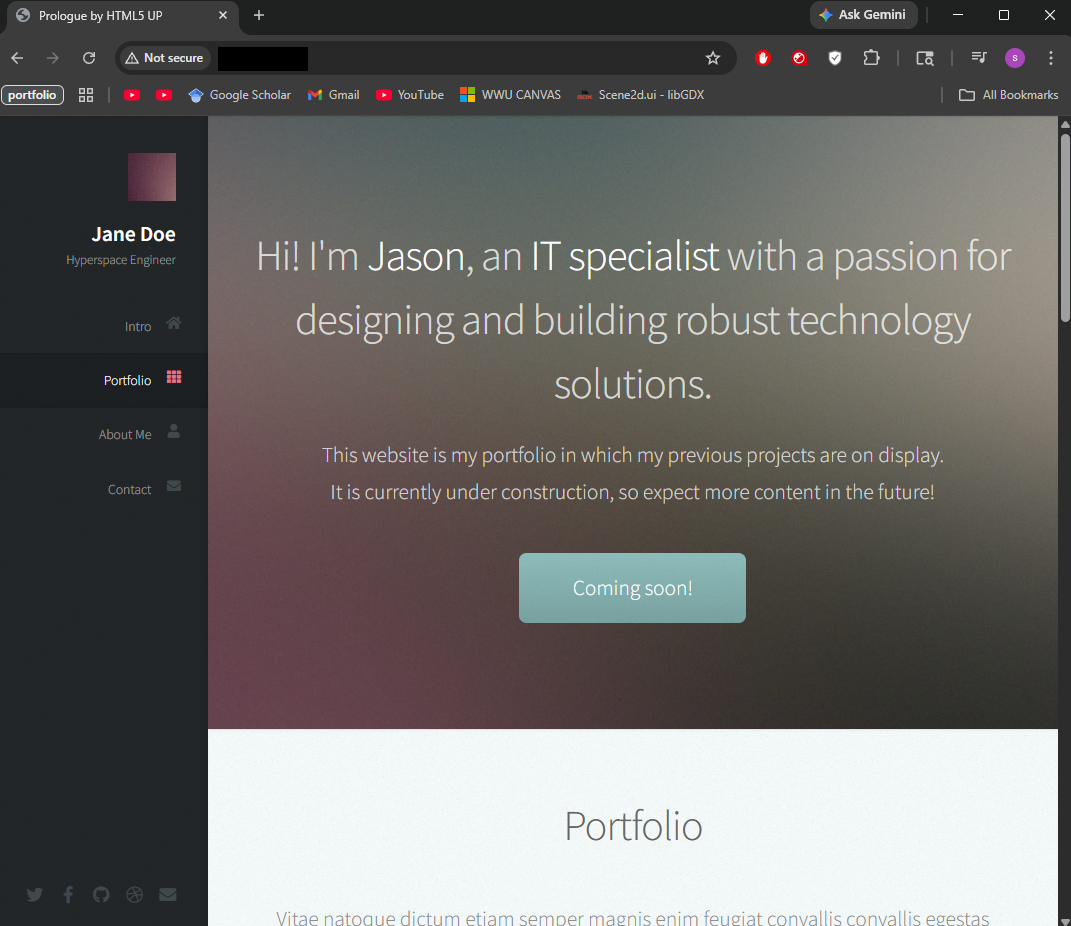
I can verify that the website is up and running properly by typing in the EC2 instance's public IP into my web browser.
DNS Configuration with Route53
I purchased a domain name (jlprojectportfolio.com) from Porkbun.com to use in this project. You may have already noticed that this is the domain name for my portfolio website that you are currently viewing this on. To use this domain name with the AWS DNS web service, Route53, I'll have to change the registered name servers for my domain on Porkbun Route53's name servers first:
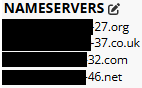
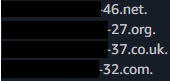
Porkbun's name servers (left image) changed to Route53's name servers (right image).
Then I created an "A" record on Route53 to map my domain name to the EC2 instance's public IP address

Setting up HTTPS and acquiring SSL certificates
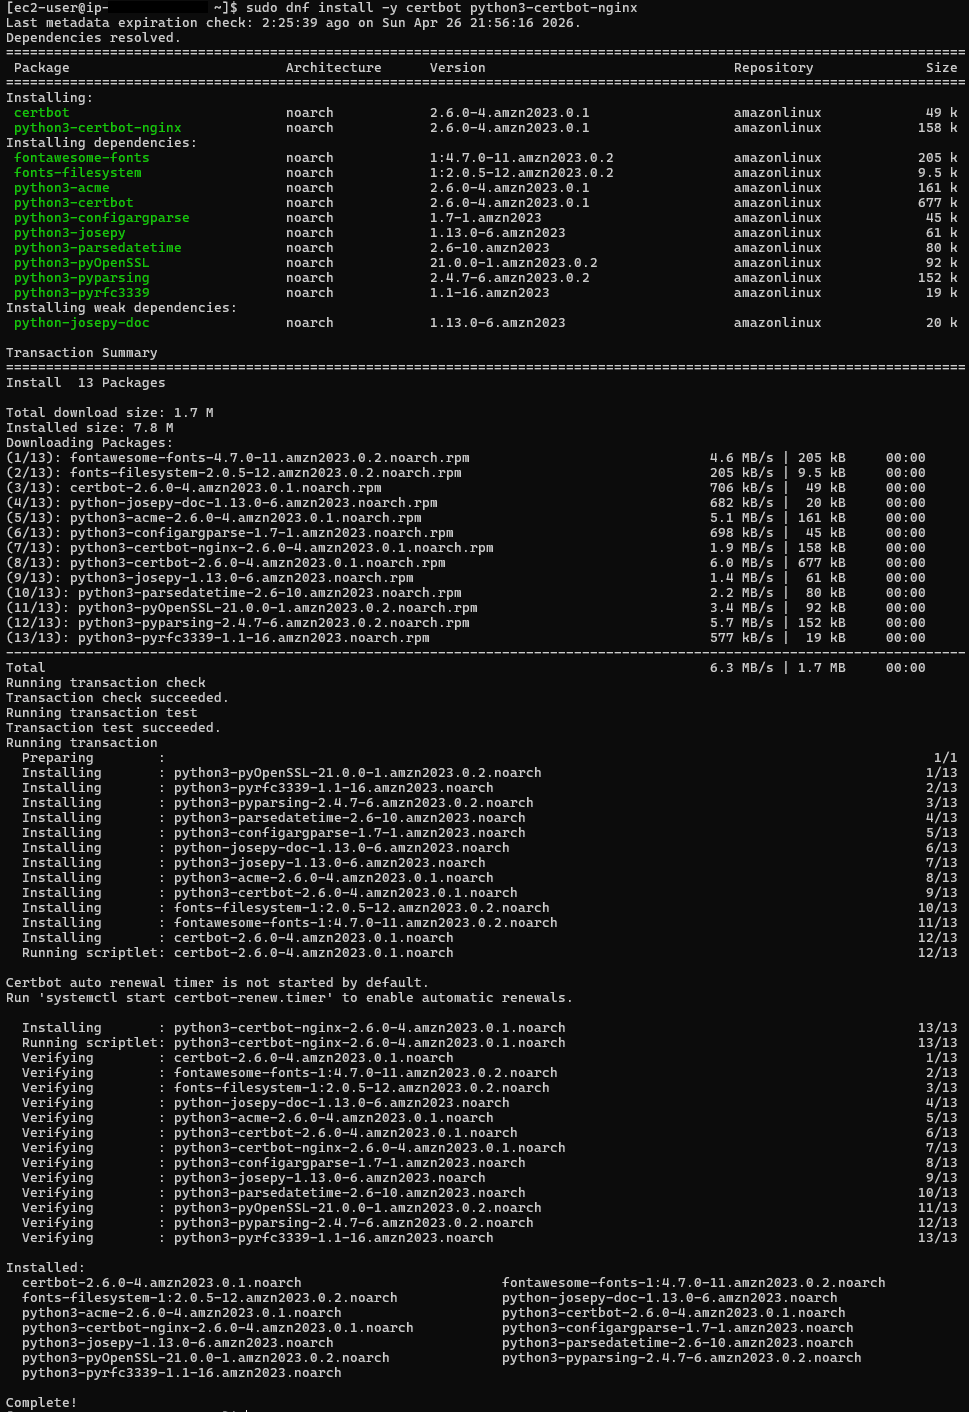
Now my website is up and accessible using my domain name, but it can only handle HTTP sessions. To set up HTTPS functionality I installed Certbot on the EC2 instance. Certbot is an open-source ACME (Automated Certificate Management Enviornment) client that will automate the management of our SSL/TLS certificate. The bonus of using Certbot is that they acquire certificates from Let's Encrypt, a Certicate Authority that provides SSL/TLS certificates for free.
Installing Certbot on my EC2 instance:
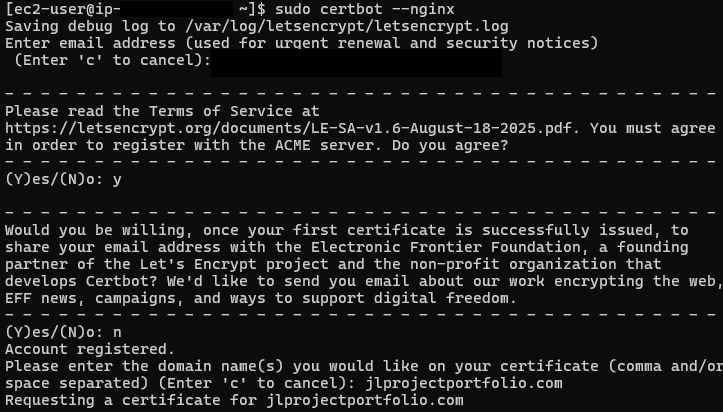
Certbot makes generating and installing SSL/TLS certificates pretty simple for NGINX. We just need to run the command "sudo certbot --nginx"
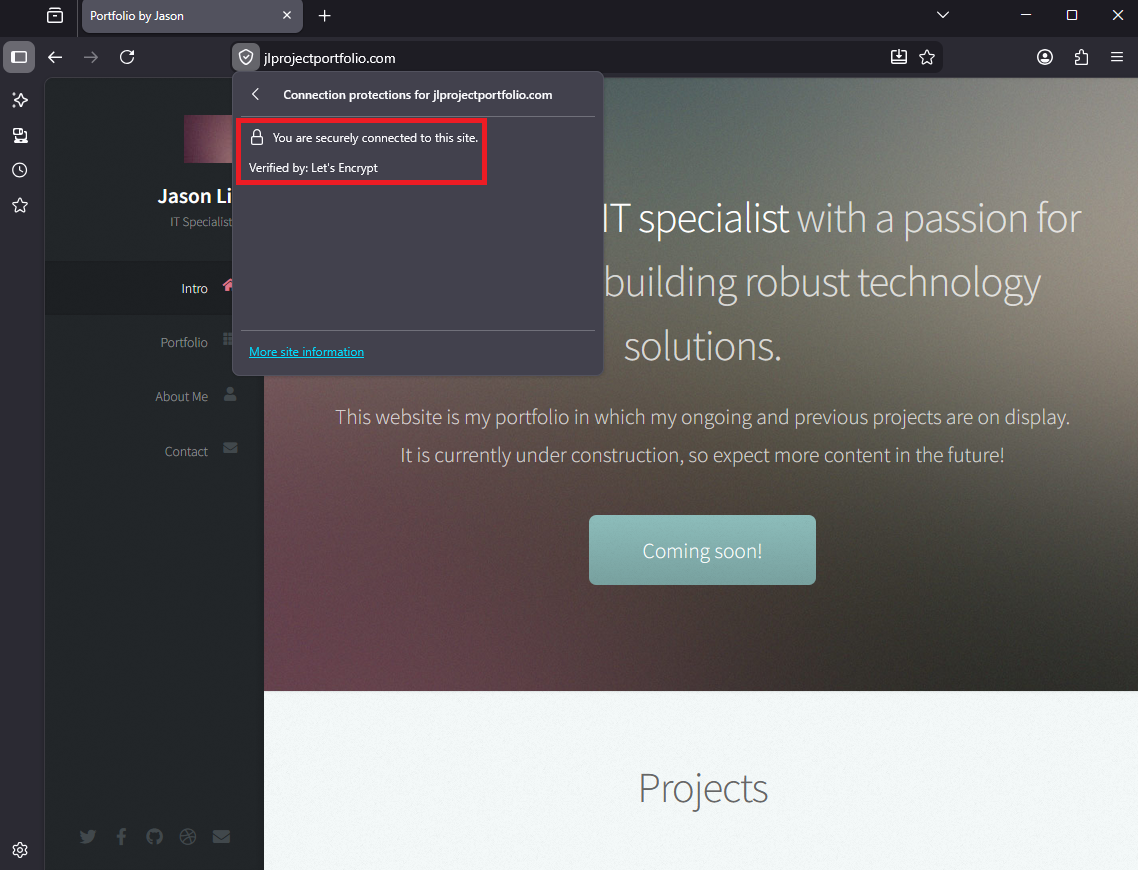
After that's all finished I can visit the website again and confirm that the connection is secure and using HTTPS.
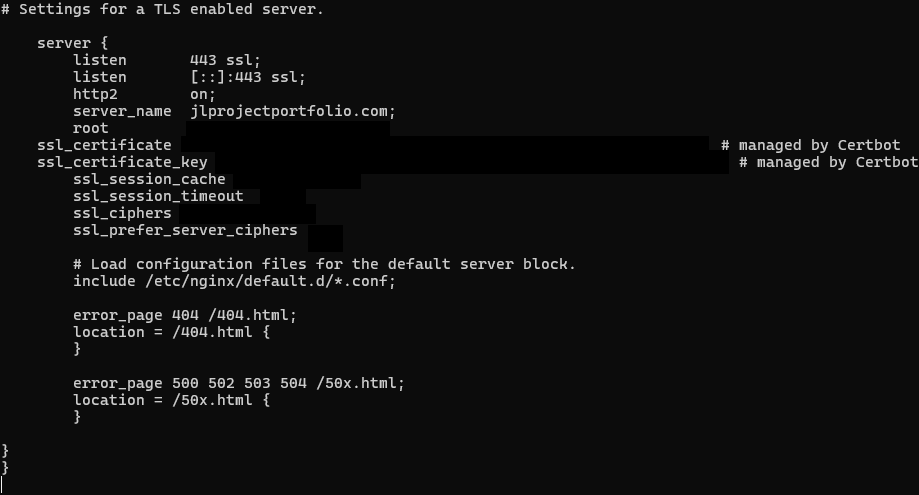
Now I need to edit the NGINX configuration file to use our newly generated certificate. Sometimes the commannd that I ran above will automatically do this step automatically, in my case it did not so we'll have to edit the file manually. The nginx.conf file that I need to edit is under the directory "etc/nginx/".

I used nano to open the file and edit it. At the bottom of the file is a commented out template of code for a TLS enabled server. I uncommented the code block and changed three settings: "server_name", "ssl_certificate", and "ssl_certificate_key". For "server_name" I just need to set it to my domain name "jlprojectportfolio.com". For the other two, I need to set them to the directories where the .pem files generated by Certbot are.
Finally, all that's left is to test the config file and reload the NGINX service ("sudo nginx -t" and "sudo nginx -s reload").
Quick check to verify HTTPS is working by vising the website:
We're done! Next I'll be adding a CI pipeline so that changes I make to my website will show immediately upon pushing new code to the site's GitHub repository using GitHub Actions.